Sunday, 18 January 2015

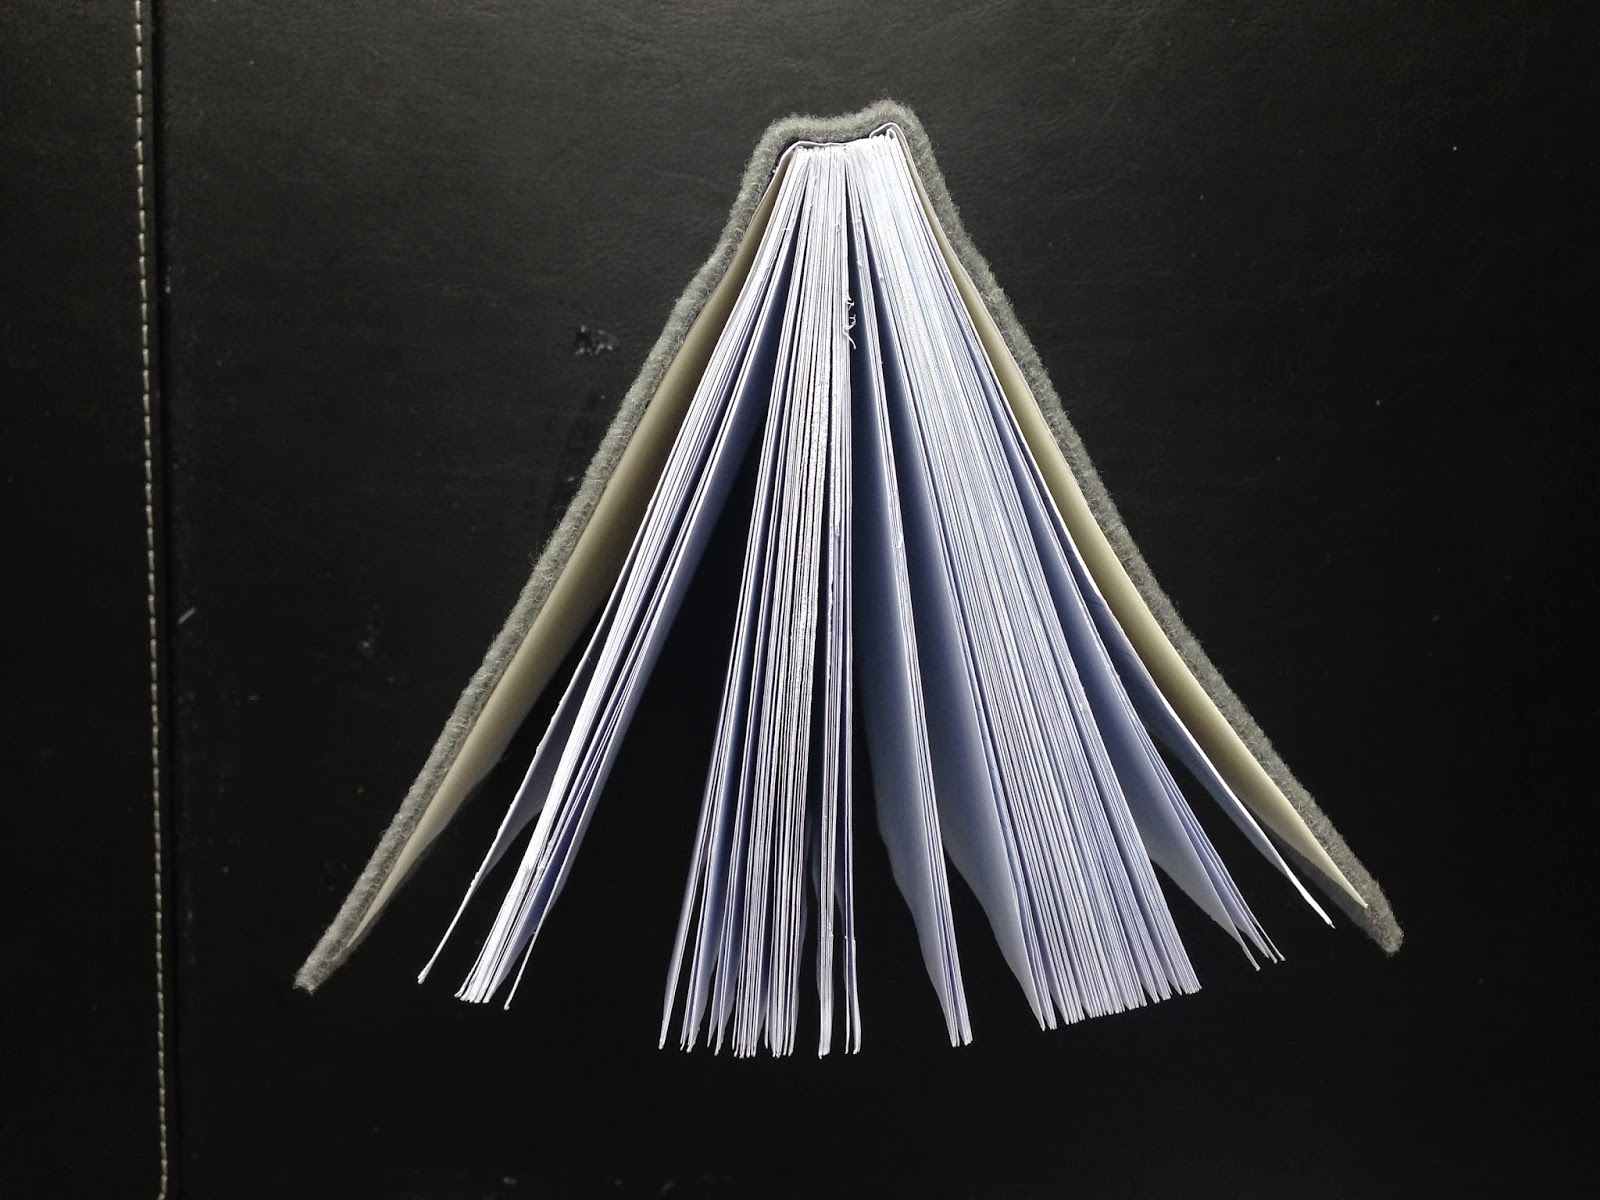
Feltbook

In preparation for a new year in uni I've decided to make a customised book myself rather than buying yet another set of sketchbooks and notebooks for uni.
I'm going to make myself a felt-backed book from a left over piece from the recycle store, the book will consist of blank and grid pages for the ease of sketching roughly-to-scale drawings quickly. So here's what you'll need if you want to make one too. 

You will need:


Sheets of A4 white paper (or whatever is to your liking, this is for one double page)
Sheets of A4 grid paper (or whatever is to your liking, this is for one double page)
2x A4 card (thick paper)
Needle
Thread
Ruler/pen
Awl (or something similar, e.g. ice pick) 
Glue
3mm Felt (or whatever backing desired)

Assemblage:
Step 1: 
Fold all the sheets of paper in half.


Step 2:
Create groups signatures by putting 4 sheets of paper inside each other, alternating from blank to gridded paper each time, create as many signatures as you want your book to have. 


Step 3:
Mark out on the spine of the first signature adding a mark every 30mm.


Step 4:
Put the first signature back in place and using a ruler or straight, flat object, place it straight up against the spines and mark a line down the stack of signatures following the markings on the first signature.


Step 5:
Open up one signature at a time and use the awl to poke holes through each marking, making sure to keep the stack in the same order as they were marked.


Step 6: 
Double-thread and knot your needle and sew the first signature by weaving in and out of each hole, and weave back to the start.


Step 7:
Once you reach the start, loop under the seam and tie a knot, then go through the hole to bring the needle to the outside.


Step 8:
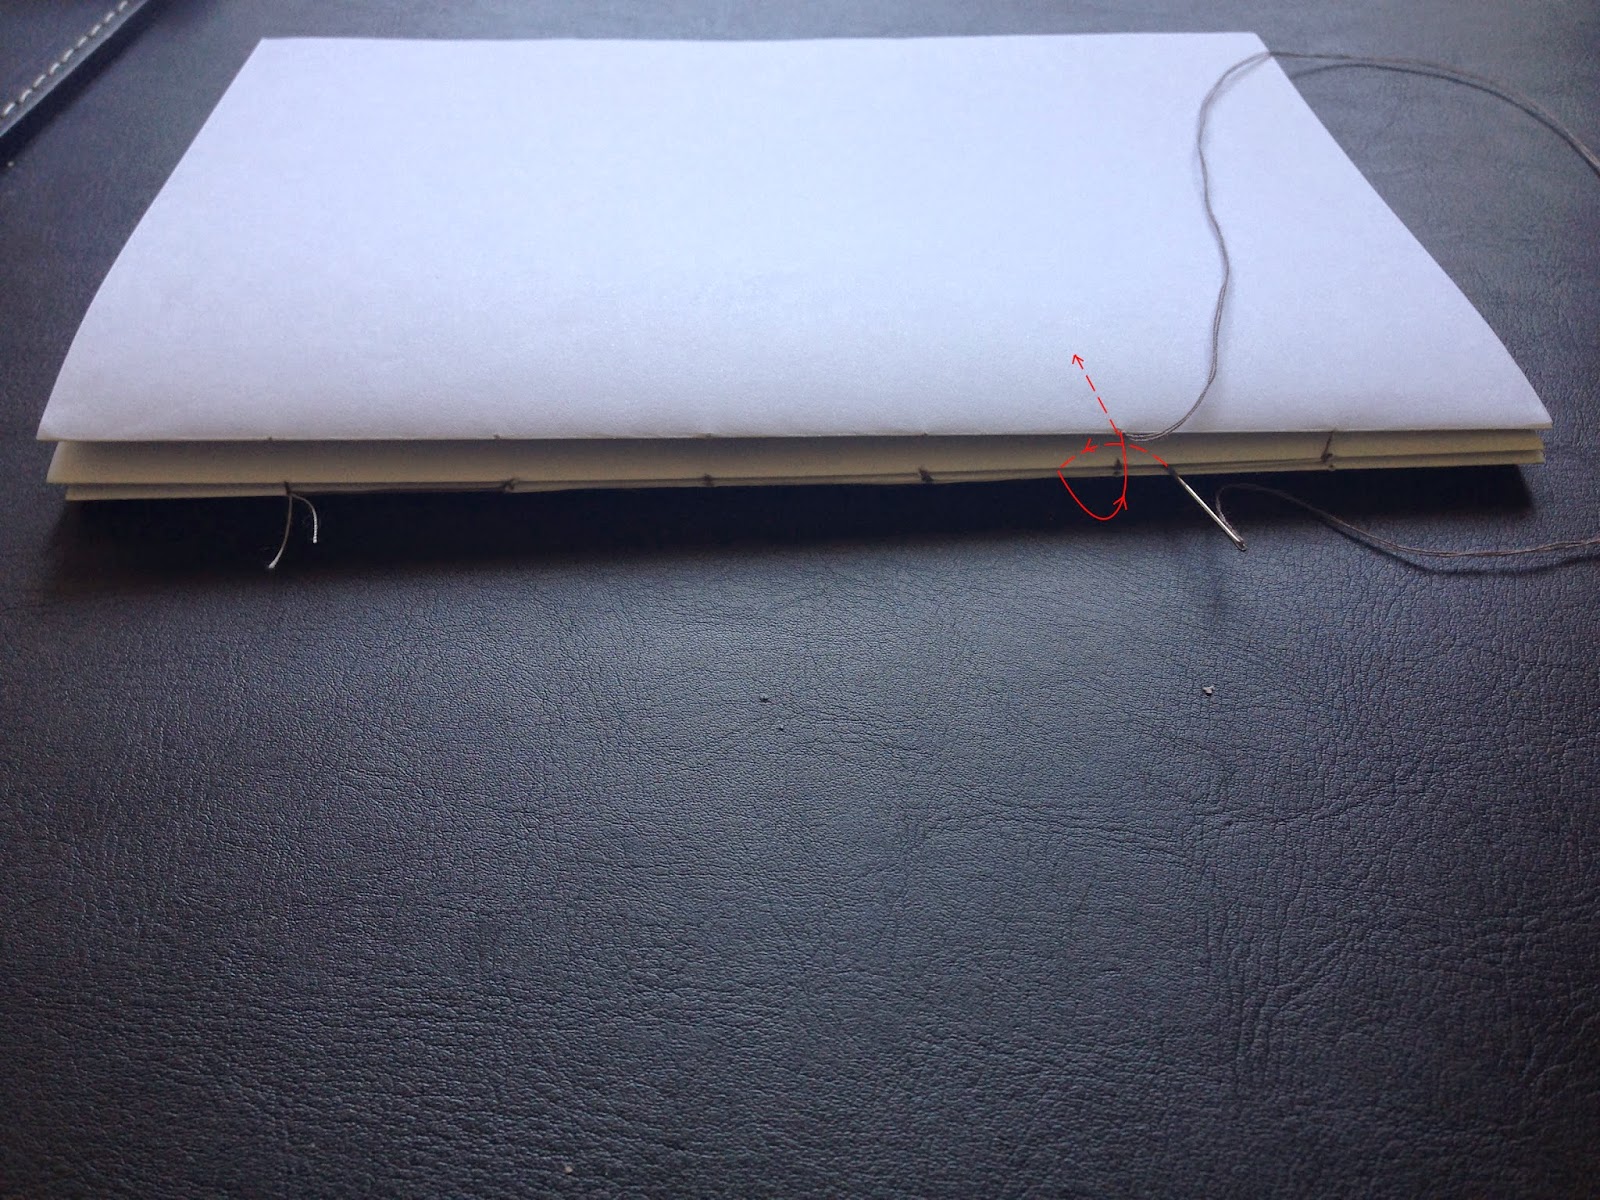
Add the next signature on top and go through the first hole, out the 2nd hole, down through the seam of the 1st signature on the right and coming back up through the seam on the left then back into the hole. Then go out through the 3rd hole. Repeat for the remaining holes to the end.


Step 9:
Add the next signature on top and go through the first hole, out the 2nd hole, loop around the back of the knot created by the stitches on the previous signature and then go back into the 2nd hole and then out through the 3rd. Repeat for the remaining holes to the end.

Step 10:
Repeat step 8 for the rest of the signatures until you get to the last signature. 

Step 11:
On the last hole, loop under the thread and tie a knot, then go back through the hole to the outside and lightly pull the knot out as well.


Step 12:
Add glue to the spine by holding the block in between a few heavy books, you may need large clips to hold the sides to keep the book in place while drying. Apply 2 layers of glue to the spine.


Step 13:
Fold the two sheets of card in half.

Step 14:
Once the glue has dried, apply a layer of glue on the front page and stick one sheet of the card on top. Repeat for the other side. Re-clip the spine to keep everything in place while it dries.


Step 15:
Cut a smaller piece of paper the same height and glue from the spine outwards for extra reinforcement.


Measure the width of you book as well as the thickness of the spine to get the approx measurement for the amount of felt that needs to be cut. Cut out the felt to the height of the book.

If you want your cover to be slightly offset from the sides, be sure to add 10-15mm to the height and width of the felt. 


Step 16:
Add glue to the front of the book and line it up with the felt. Press down onto the felt to glue it into place. Fold it over and glue the back of the book and press it down onto the felt. 

If you want you cover to be slightly offset, make sure to glue the book 5-7mm offset on each side before pressing down into place.


Step 17:
Smooth out the cover and add clips to all sides or place in between some heavy books to hold the book in place while it dries.

And you're done! yaay!


Monday, 12 January 2015

Who inspires?

The moment we stop breathing is the moment we, as individuals stop creating. But that doesn't inhibit another to use that as the drawing board for creation. That's right, what inspires us to create?
Everything.
Life, death, and everything in between.
But who is inspired?

What's the difference between a painter and a scientist? Not too much, except the rules and regulations of proving the hypothesis within an arbitrary experiment, that, if majority is accurate becomes fact, rather than just a drawing hung up in a room to be looked at.
But if you think about the basics of both a painter and a scientist, they both start from an idea, a thought, an inspiration that delves them into expanding on the thought and experimenting, on canvas or in a lab.
When we talk about inspiration there is no specific one place that we get inspired from. We inspire each other and the world.
I could be an architect, you could be a journalist, a doctor, a care bear maker, and yet we could all draw inspiration from the same place. From bone to building. From building to dress.

Amanda Luu, Shereen Amin


Saturday, 27 December 2014

What makes the photo?

To be honest I am not a great photographer. 
Photographs mainly are taken during travel and events for me, taken carelessly, without much thought, just spamming the shutter button whilst adjusting minor details in focus.
I think rather than recklessly pressing that button I should consider a philosophy and what it actually means to take a good photo.
So what is photography actually all about? I decided to compile a list of questions that I personally should be asking myself each time I hold the camera to my face and take another snap.
Image: Amanda Luu


What is the condition in which the photo is being taken? 
Justify why the photo is being taken and have a cause.

How should the photo be taken?
Carefully consider the composition of the photo, the equilibrium and balance of the photo, foreground, background and the best angle it should be taken at.

Where is my light?
Consider what is the focus and how the lighting can effect the subject, in both good and bad terms. Lighting is generally crucial in terms of taking a photo, cloudy days are generally best for outdoor shots as the light is spread and filtered through the clouds, however sunny and angled lighting could add varying degrees of drama into a shot.

How do I want to express my photo?
Figure out what it is that needs to be portrayed through the image. Whether it is an emotional picture or a dramatical or image to display, have a view about the subject and know what message needs to be described through the image about the subject.

It's all about what needs to be said about the subject of capture, how you want both you and your audience to see the image and the message and emotions behind it.


Monday, 15 December 2014

The Beginning of the end

Something must have clicked in my head, it's uni break, the day after my birthday, the nearing of another year. I'm bored, let's start a blog.

So who am I?
Amanda, the silent type who sits in the corner, listening, observing and watching the class, thinking I'm alone and that nobody will notice me.. however I have learnt that that is definitely not true. Sadly I am not a ninja. So I may as well make a entrance into the world of the cyberspace.

Why am I here?
Honestly? I thought I might at least try do something else with my life more than reading manga, anime and the latest season of Project Runway. Yeah, great start for a wanna be architect. It's the end of a year, maybe a start of something else. This could ultimately be a way to get my name and style out to the world. Perhaps to introduce myself to more than just that girl who may just design your house later on in life. 

So what's this all about?
At the very least, I'm an architecture student, starting my 3rd and final year of bachelors in 2015. So hopefully I'll be able to get myself writing on architecture, my life, my inspiration and my hobbies. No, this is not going to be only about architecture, pity.

Hopefully something will come out of this wonderful new world. Let's break out of that inner shell of comfortable living and step out into the world. 
So here's me to you, greetings, the world of cyberspace, my name is Amanda Luu and my sketches are cringe-worthy.
I hope you aren't my future employer who somehow found this blog and is reading this to figure out what type of employee you're hiring.

Merry Christmas folks, let's hope this year ends on a new note. 
Image: Amanda Luu