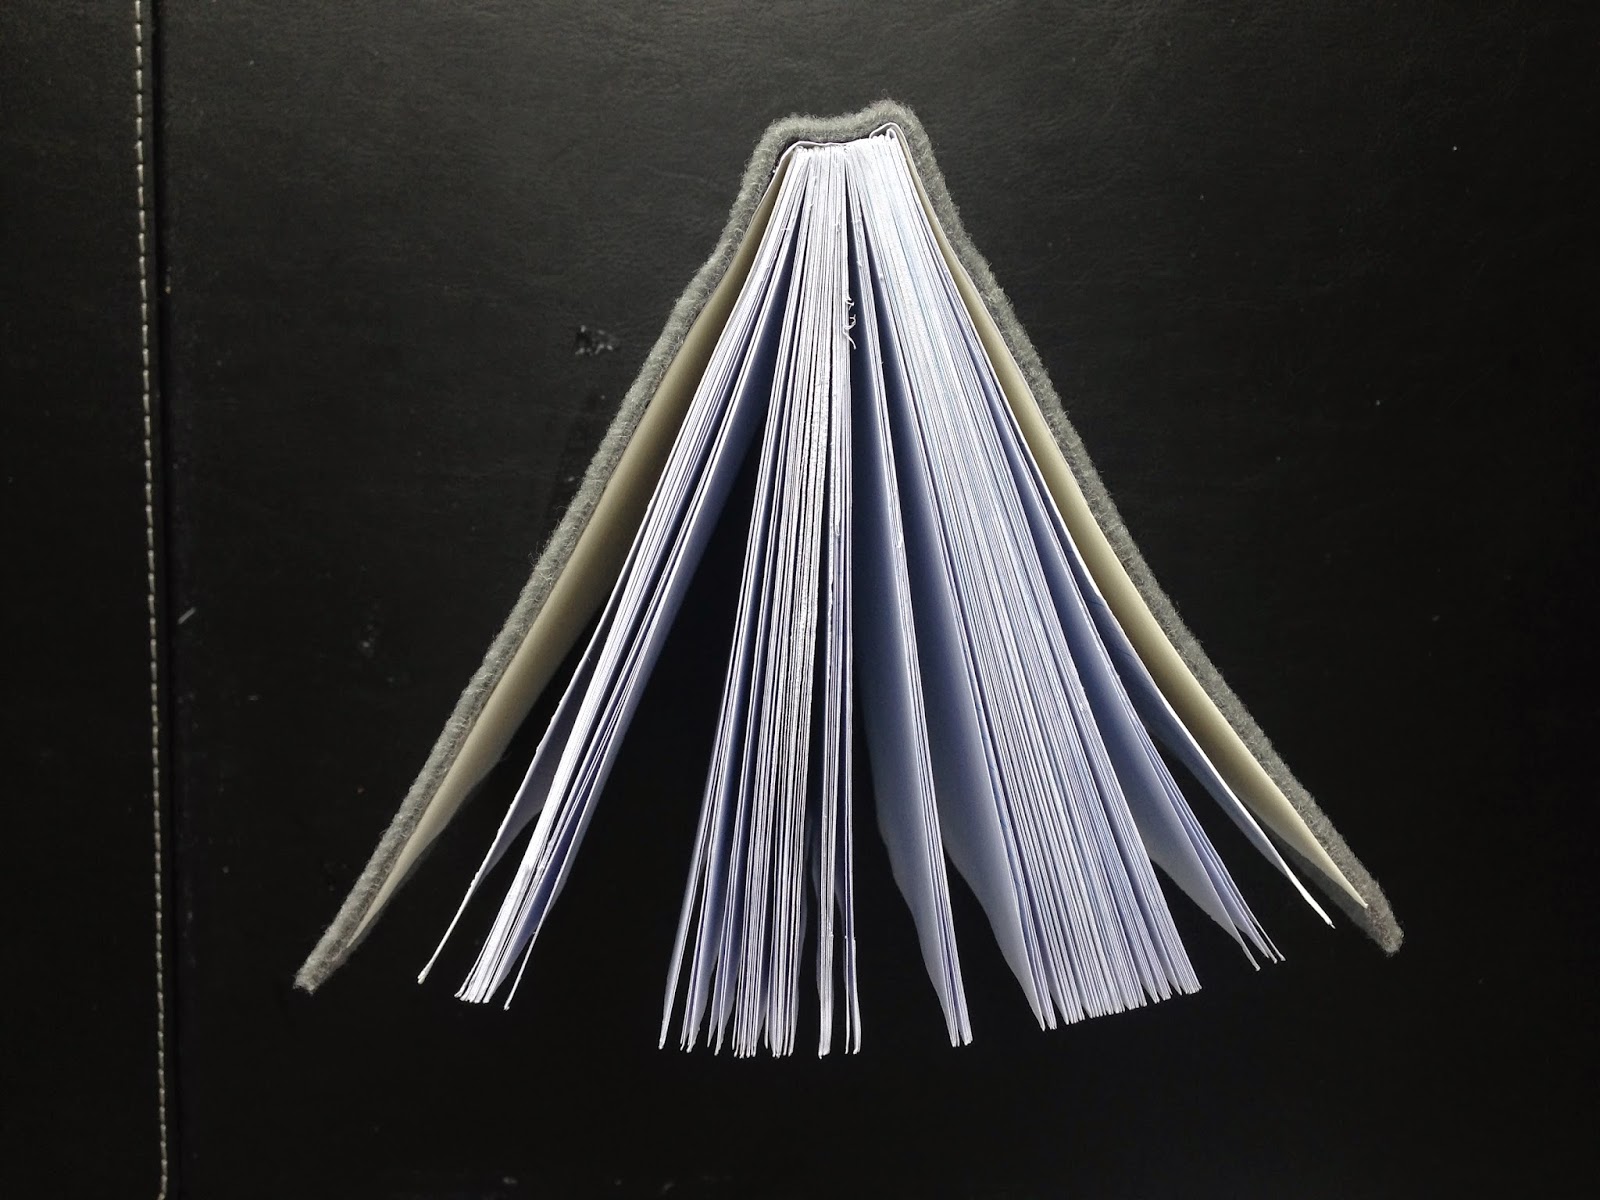
I'm going to make myself a felt-backed book from a left over piece from the recycle store, the book will consist of blank and grid pages for the ease of sketching roughly-to-scale drawings quickly. So here's what you'll need if you want to make one too.
You will need:

Sheets of A4 white paper (or whatever is to your liking, this is for one double page)
Sheets of A4 grid paper (or whatever is to your liking, this is for one double page)
2x A4 card (thick paper)
Needle
Thread
Ruler/pen
Awl (or something similar, e.g. ice pick)
Glue
3mm Felt (or whatever backing desired)
Assemblage:
Step 1:
Fold all the sheets of paper in half.

Step 2:
Create groups signatures by putting 4 sheets of paper inside each other, alternating from blank to gridded paper each time, create as many signatures as you want your book to have.

Step 3:
Mark out on the spine of the first signature adding a mark every 30mm.

Step 4:
Put the first signature back in place and using a ruler or straight, flat object, place it straight up against the spines and mark a line down the stack of signatures following the markings on the first signature.

Step 5:
Open up one signature at a time and use the awl to poke holes through each marking, making sure to keep the stack in the same order as they were marked.

Step 6:
Double-thread and knot your needle and sew the first signature by weaving in and out of each hole, and weave back to the start.

Step 7:
Once you reach the start, loop under the seam and tie a knot, then go through the hole to bring the needle to the outside.

Step 8:
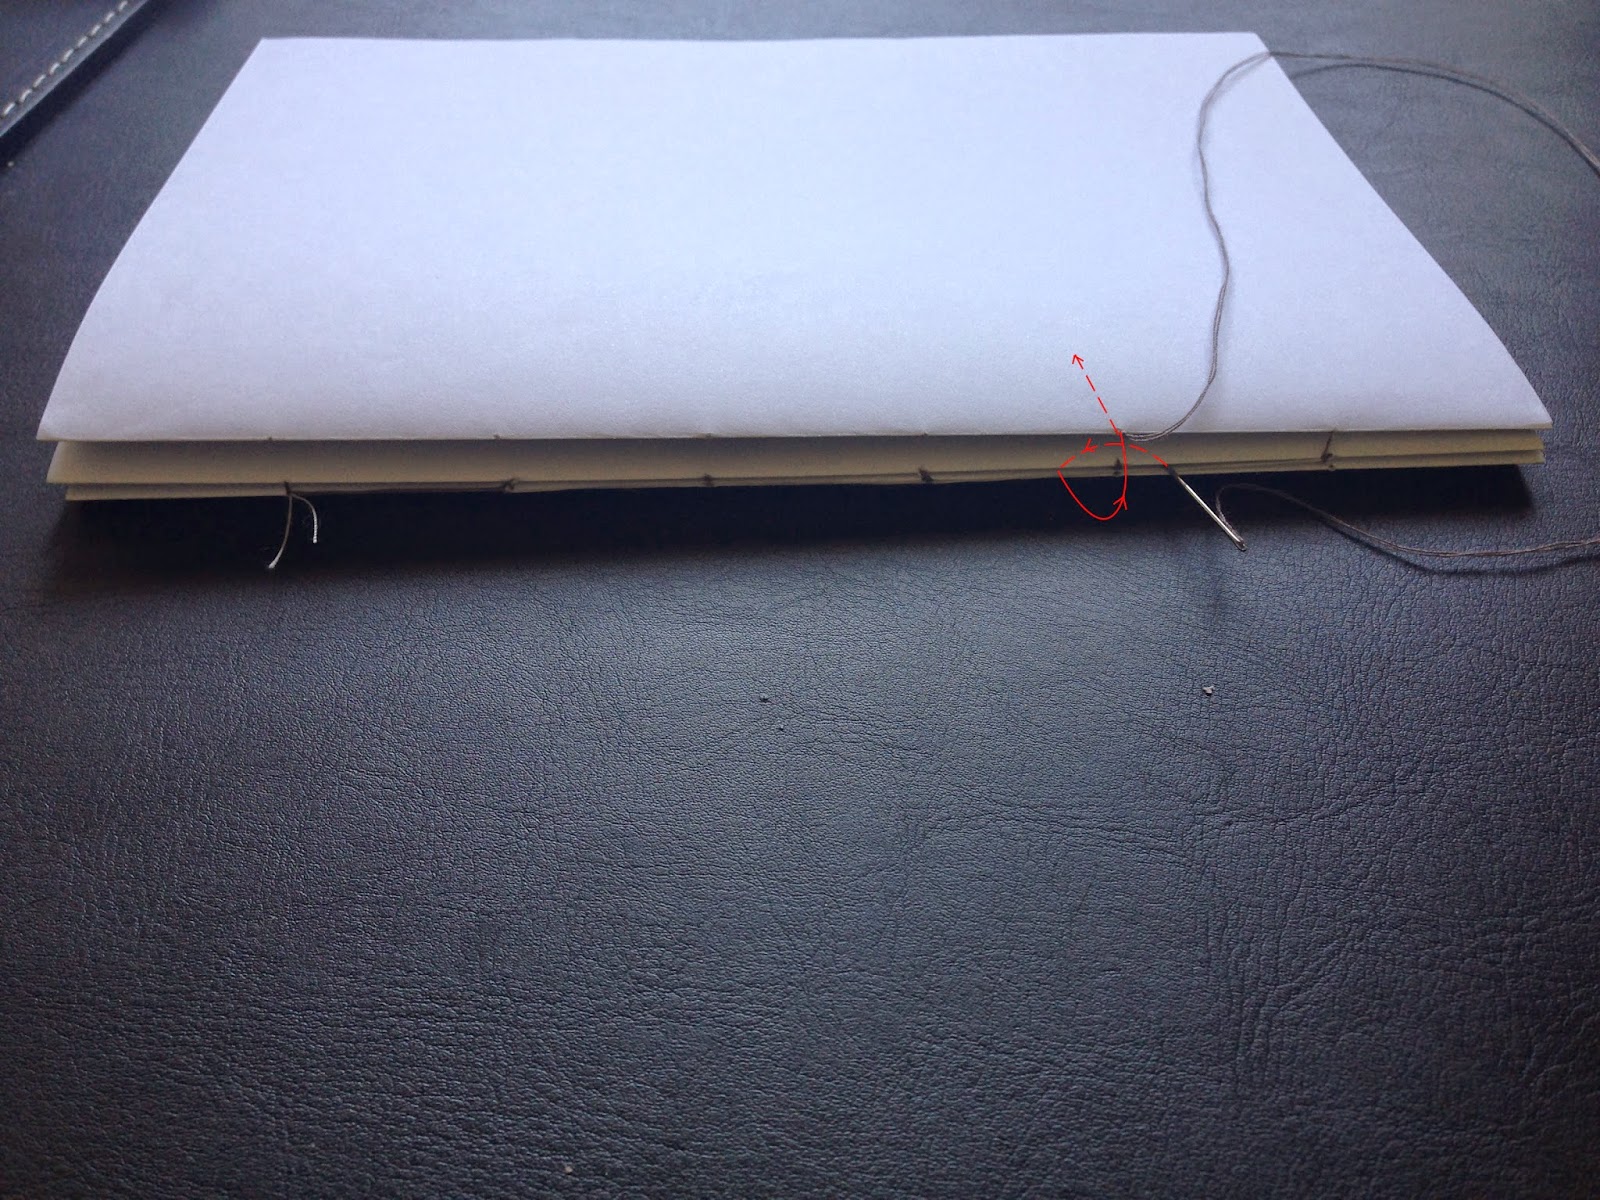
Add the next signature on top and go through the first hole, out the 2nd hole, down through the seam of the 1st signature on the right and coming back up through the seam on the left then back into the hole. Then go out through the 3rd hole. Repeat for the remaining holes to the end.

Step 9:
Add the next signature on top and go through the first hole, out the 2nd hole, loop around the back of the knot created by the stitches on the previous signature and then go back into the 2nd hole and then out through the 3rd. Repeat for the remaining holes to the end.
Step 10:
Repeat step 8 for the rest of the signatures until you get to the last signature.
Step 11:
On the last hole, loop under the thread and tie a knot, then go back through the hole to the outside and lightly pull the knot out as well.
Step 12:
Add glue to the spine by holding the block in between a few heavy books, you may need large clips to hold the sides to keep the book in place while drying. Apply 2 layers of glue to the spine.

Step 13:
Fold the two sheets of card in half.
Step 14:
Once the glue has dried, apply a layer of glue on the front page and stick one sheet of the card on top. Repeat for the other side. Re-clip the spine to keep everything in place while it dries.

Step 15:
Cut a smaller piece of paper the same height and glue from the spine outwards for extra reinforcement.

Cut a smaller piece of paper the same height and glue from the spine outwards for extra reinforcement.
Measure the width of you book as well as the thickness of the spine to get the approx measurement for the amount of felt that needs to be cut. Cut out the felt to the height of the book.
If you want your cover to be slightly offset from the sides, be sure to add 10-15mm to the height and width of the felt.

Step 16:
Add glue to the front of the book and line it up with the felt. Press down onto the felt to glue it into place. Fold it over and glue the back of the book and press it down onto the felt.
If you want you cover to be slightly offset, make sure to glue the book 5-7mm offset on each side before pressing down into place.

Step 17:
Smooth out the cover and add clips to all sides or place in between some heavy books to hold the book in place while it dries.
And you're done! yaay!